After downloading the IDS Capture App from the App Store or the Google Play Store be sure to contact IDS to initiate your free immersive experience.

In order to utilize the features within the app an account must be established. Please enter credentials provided by IDS to log into your account.
NOTE: BE SURE TO ALLOW ALL PERMISSIONS, AND HAVE LOCATION SERVICES TURNED ON IN ORDER FOR APP TO WORK PROPERLY

After logging into your account you will see all projects that you have access to. After selecting a project you may now access the camera modes.
(See "Capture" Section)
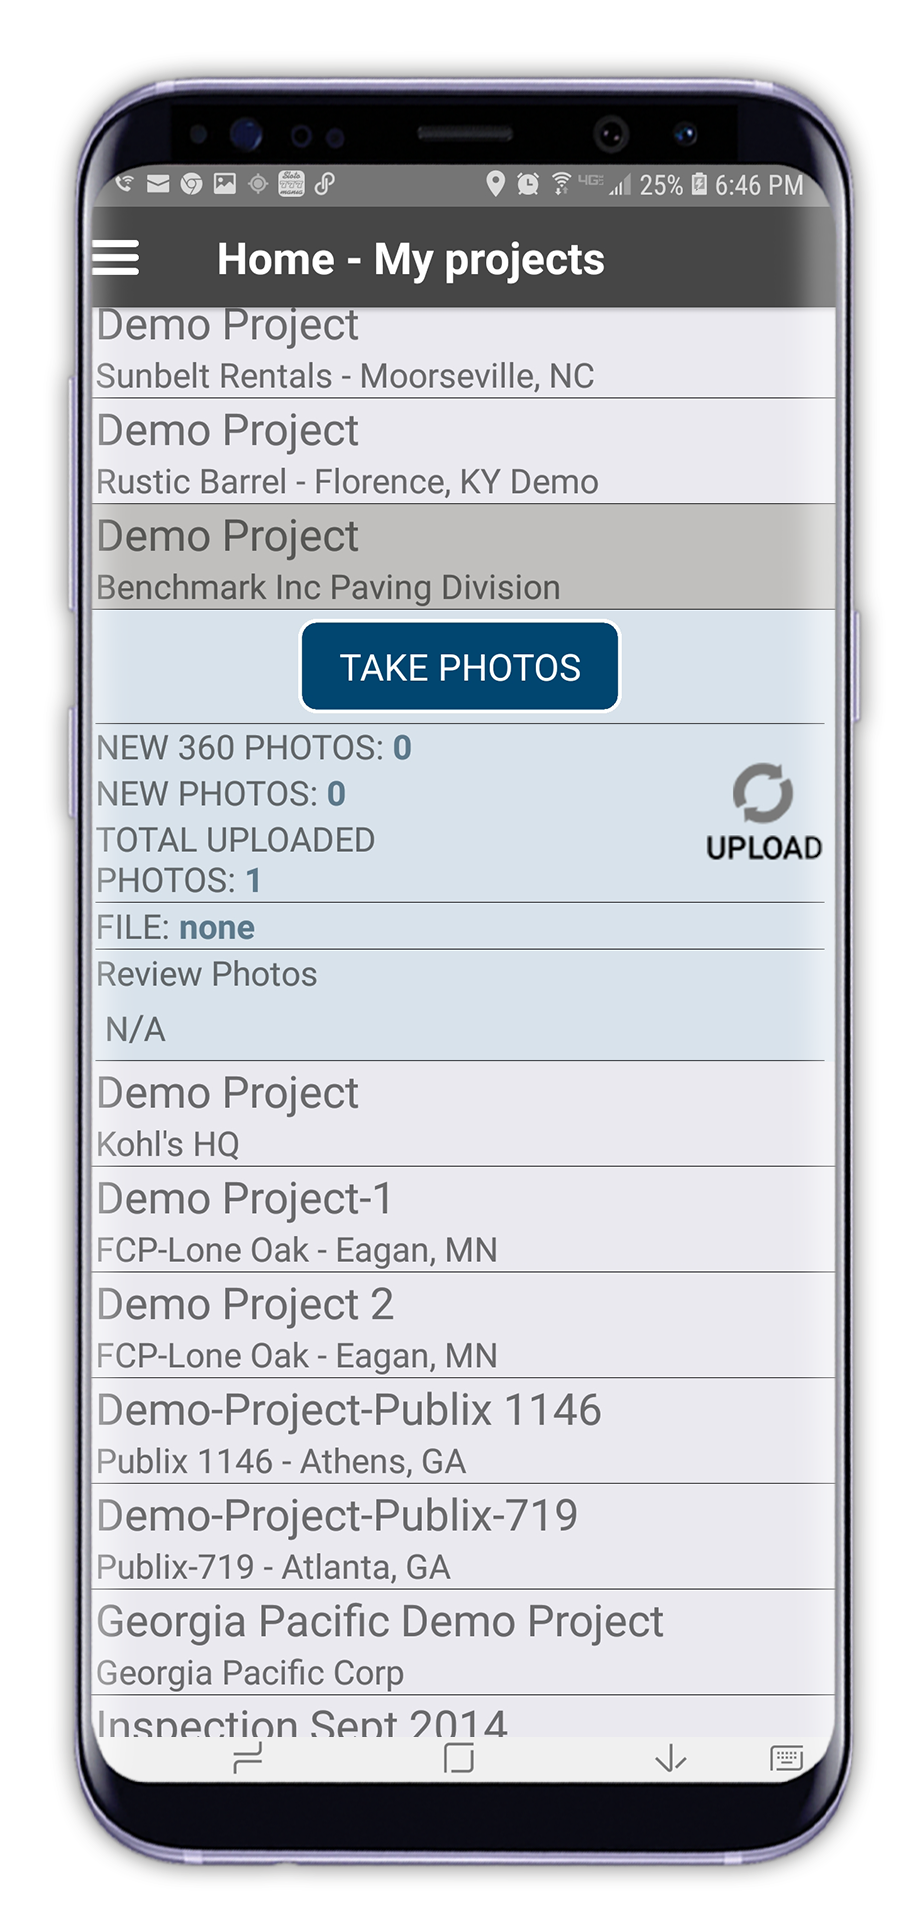
Select "TAKE PHOTOS" button to begin capturing for this project.


Select the Layer Control (Arrow above) to set desired map layer visibility.
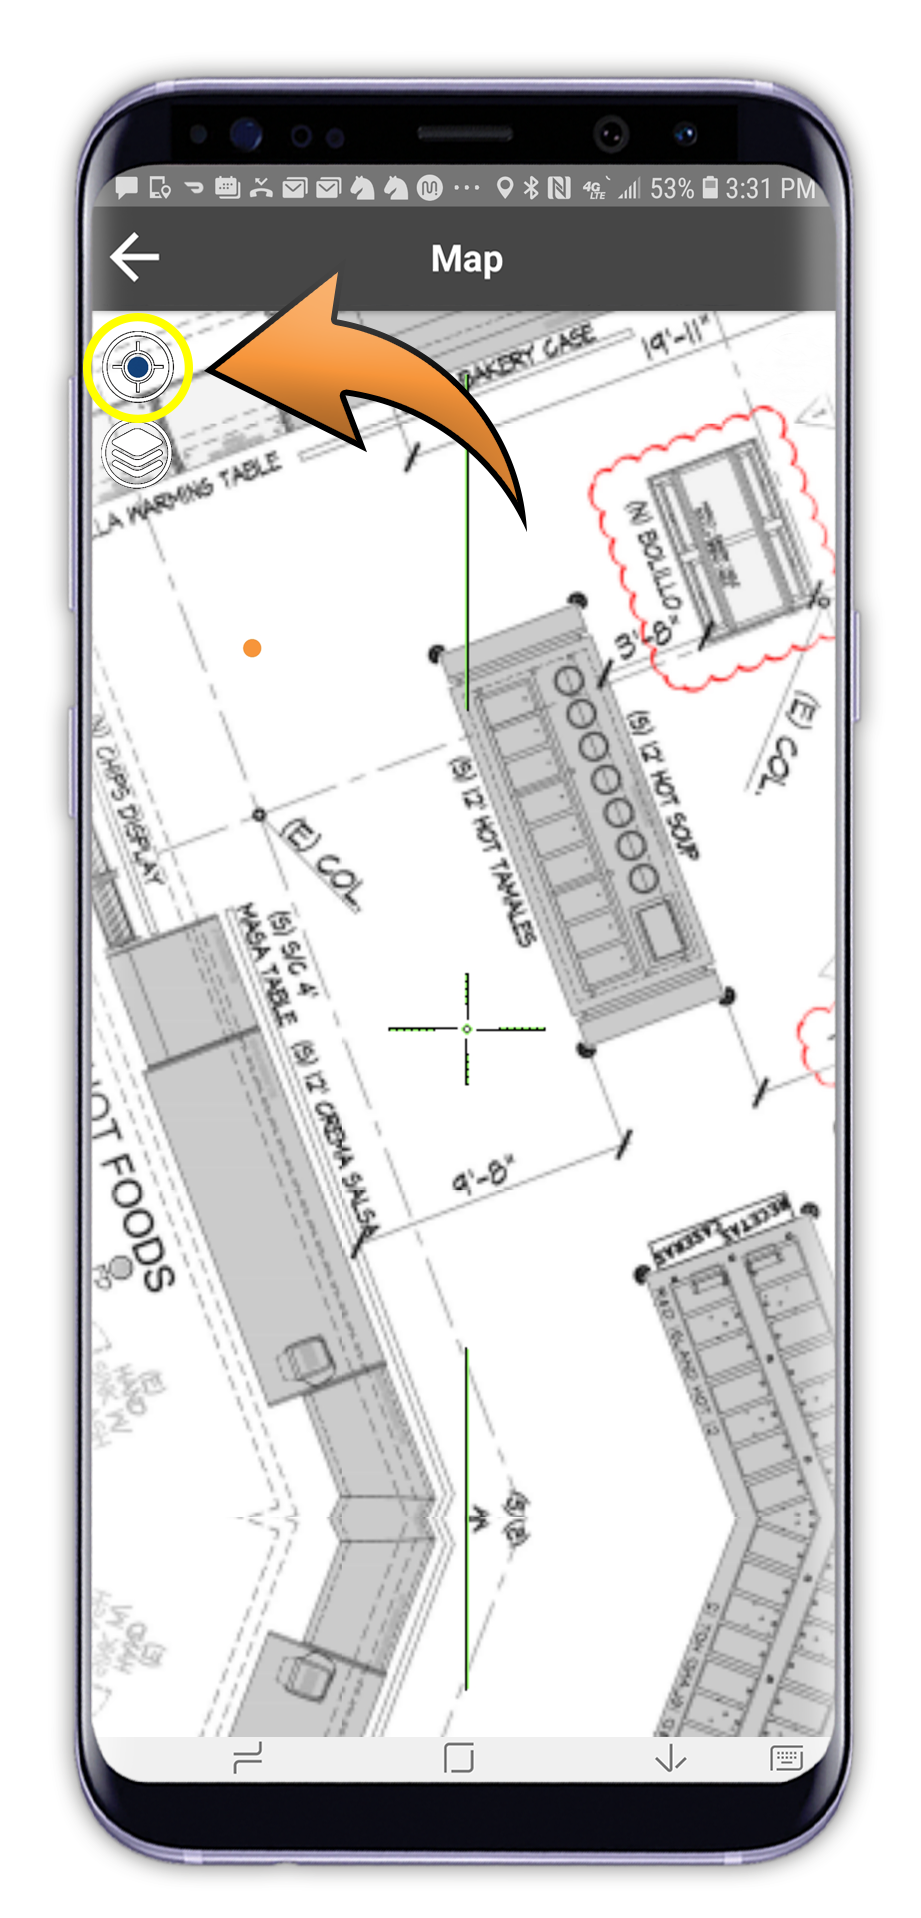
Drag the map to position the cross hairs to capture your first photo. (Select "My Location" icon to see your general location according to your devices GPS.)
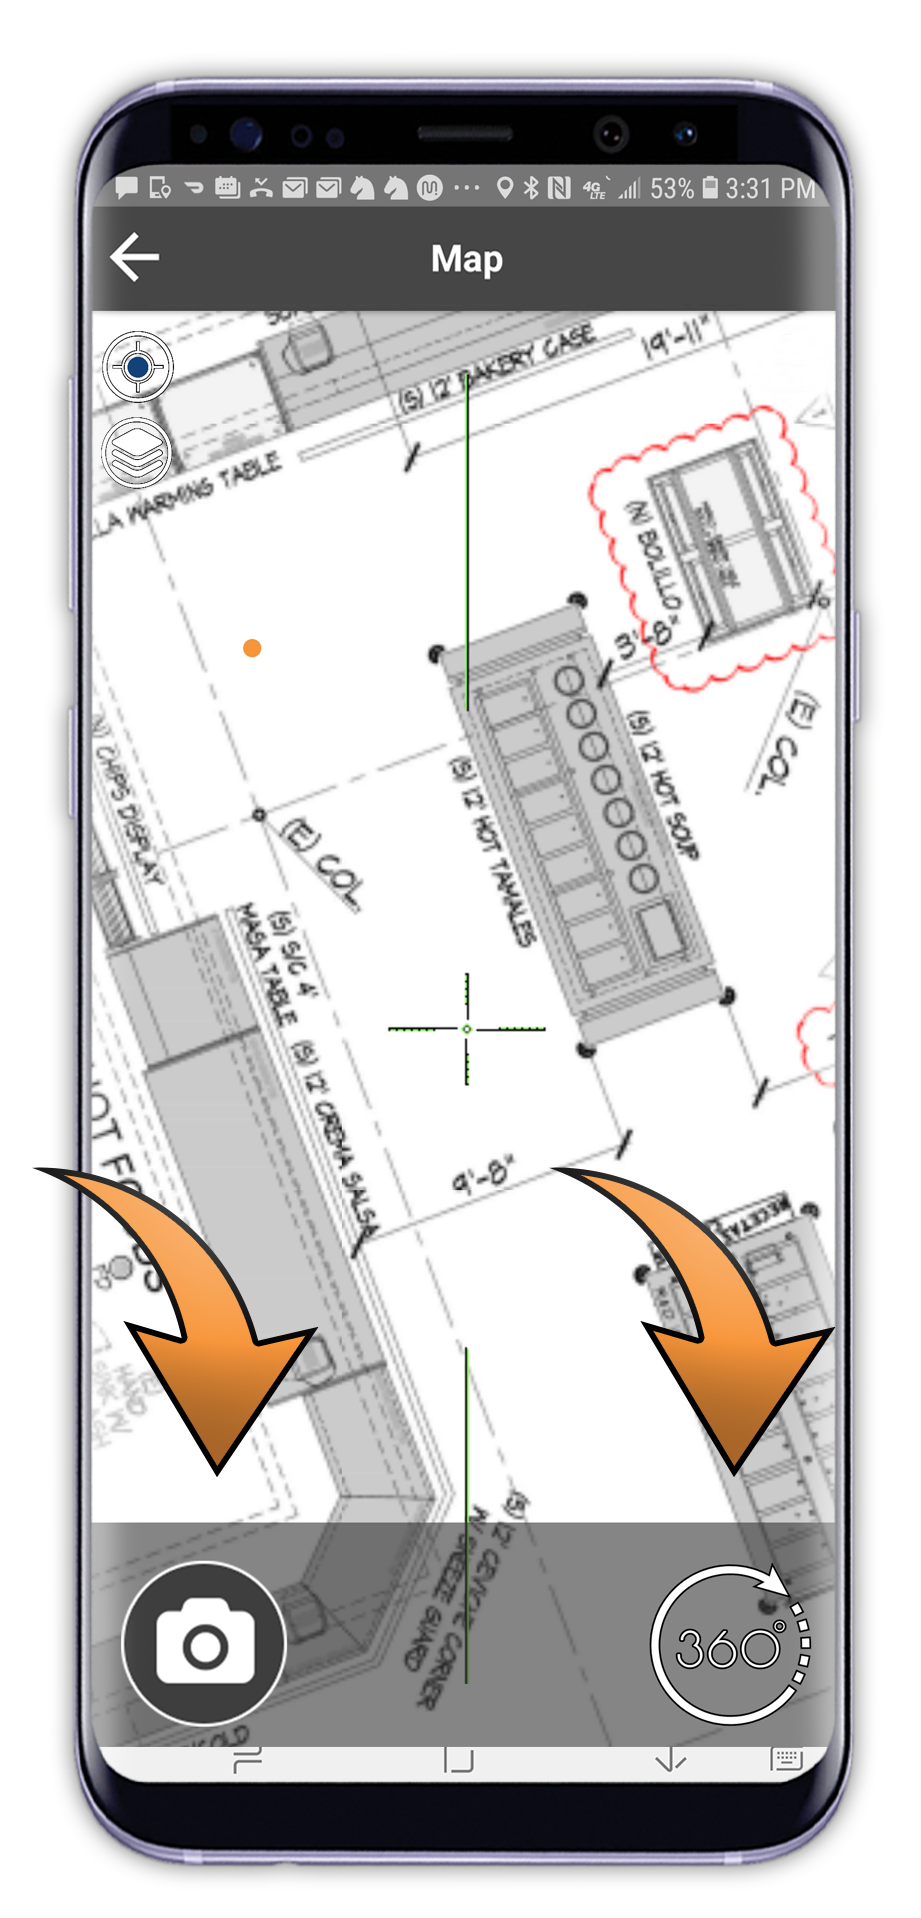
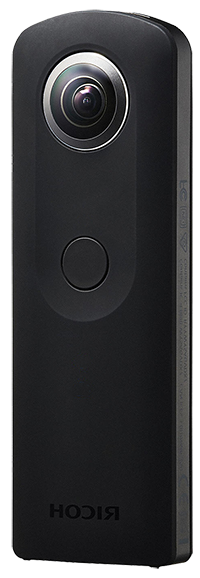
Select lower left icon to capture a standard phone/tablet photo. Select the lower right icon to capture a 360 image. NOTE: 360 image requires a spherical 360 camera. (sold separately by IDS)
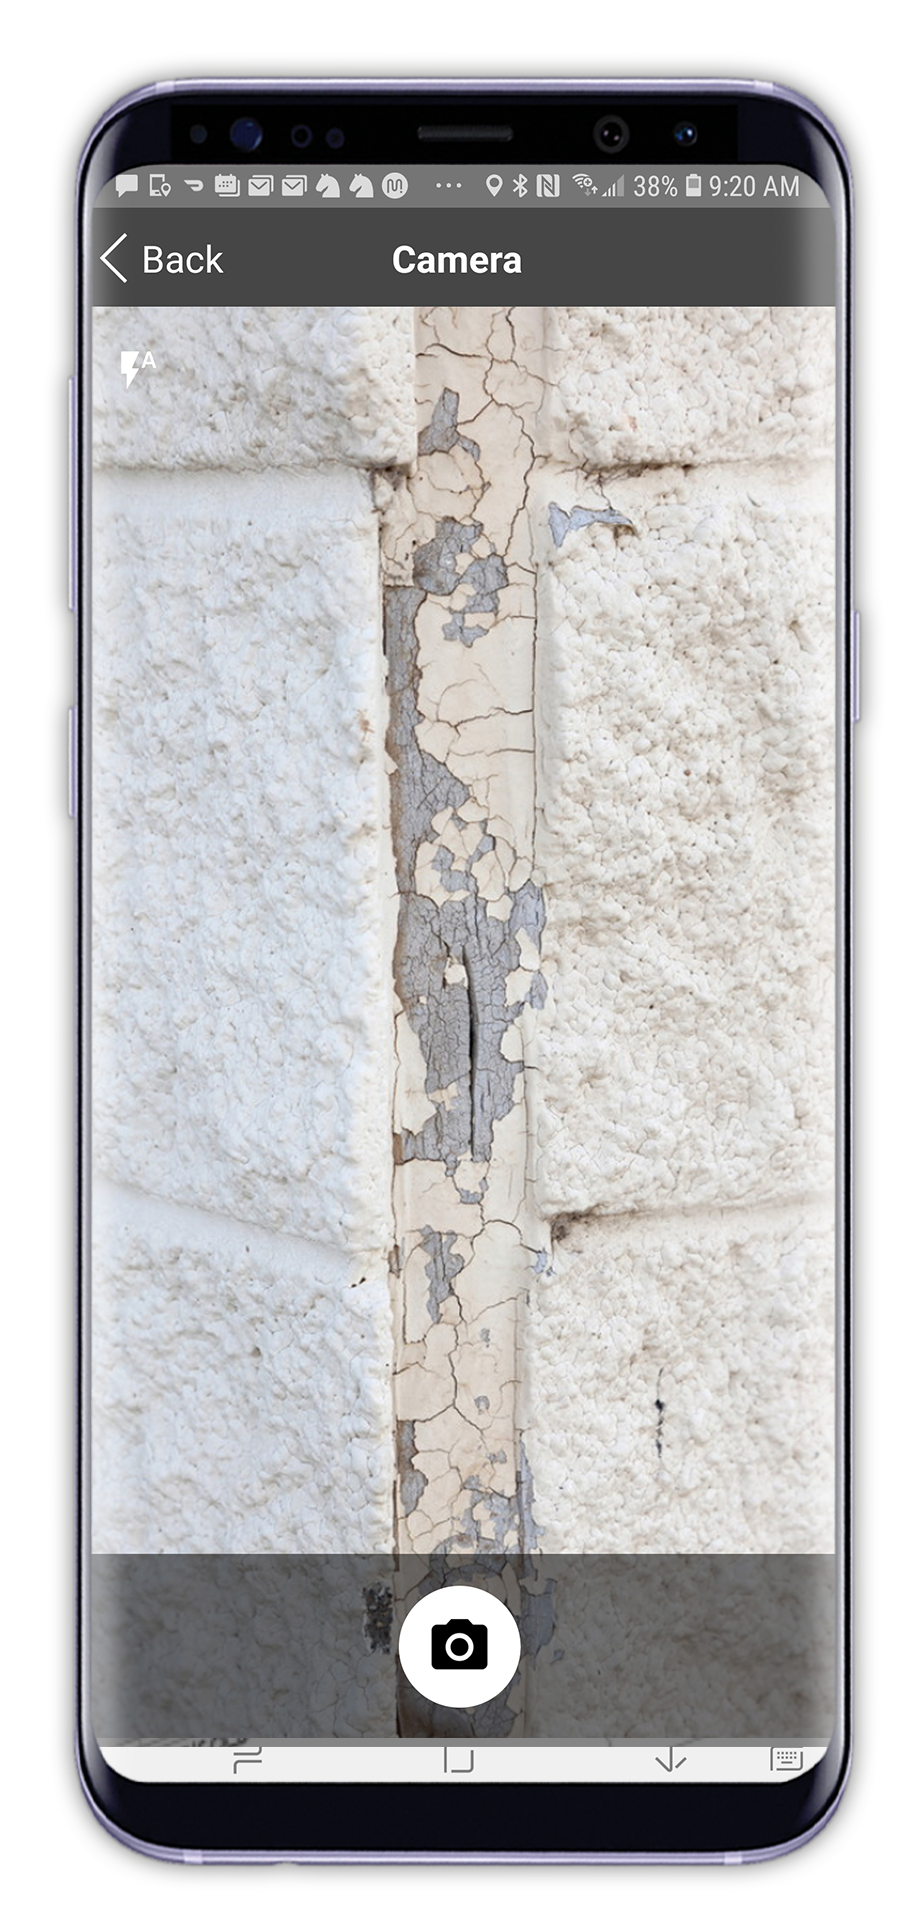
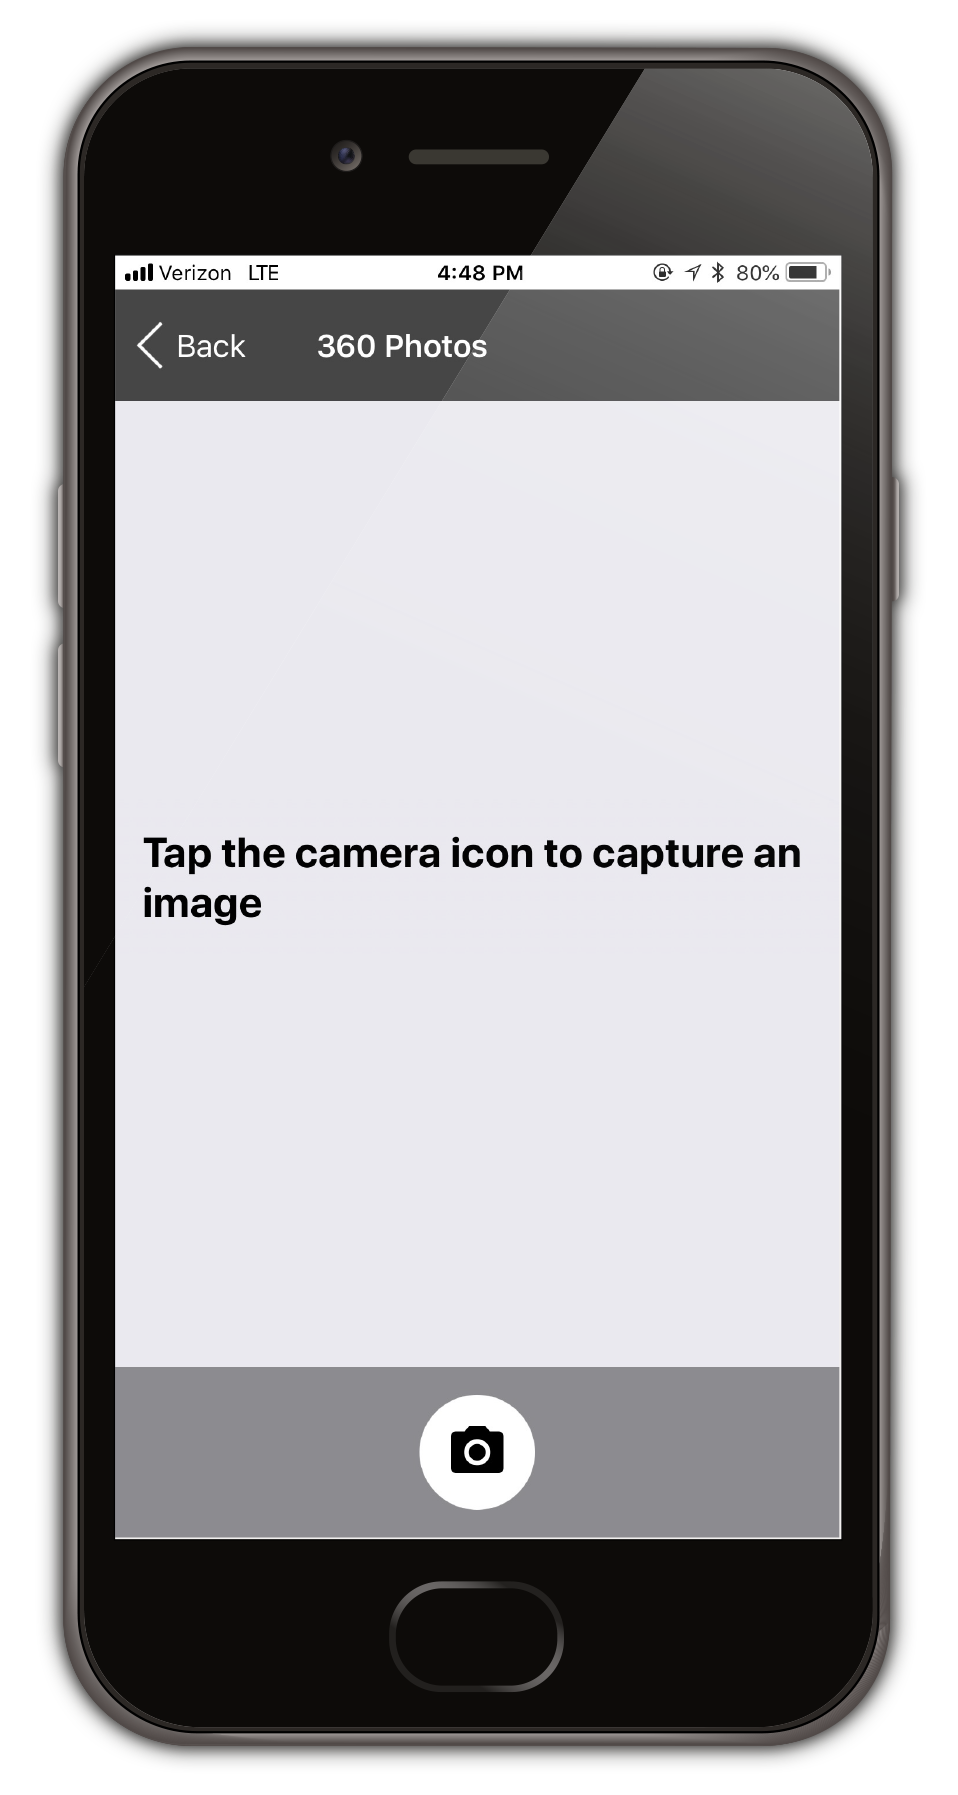
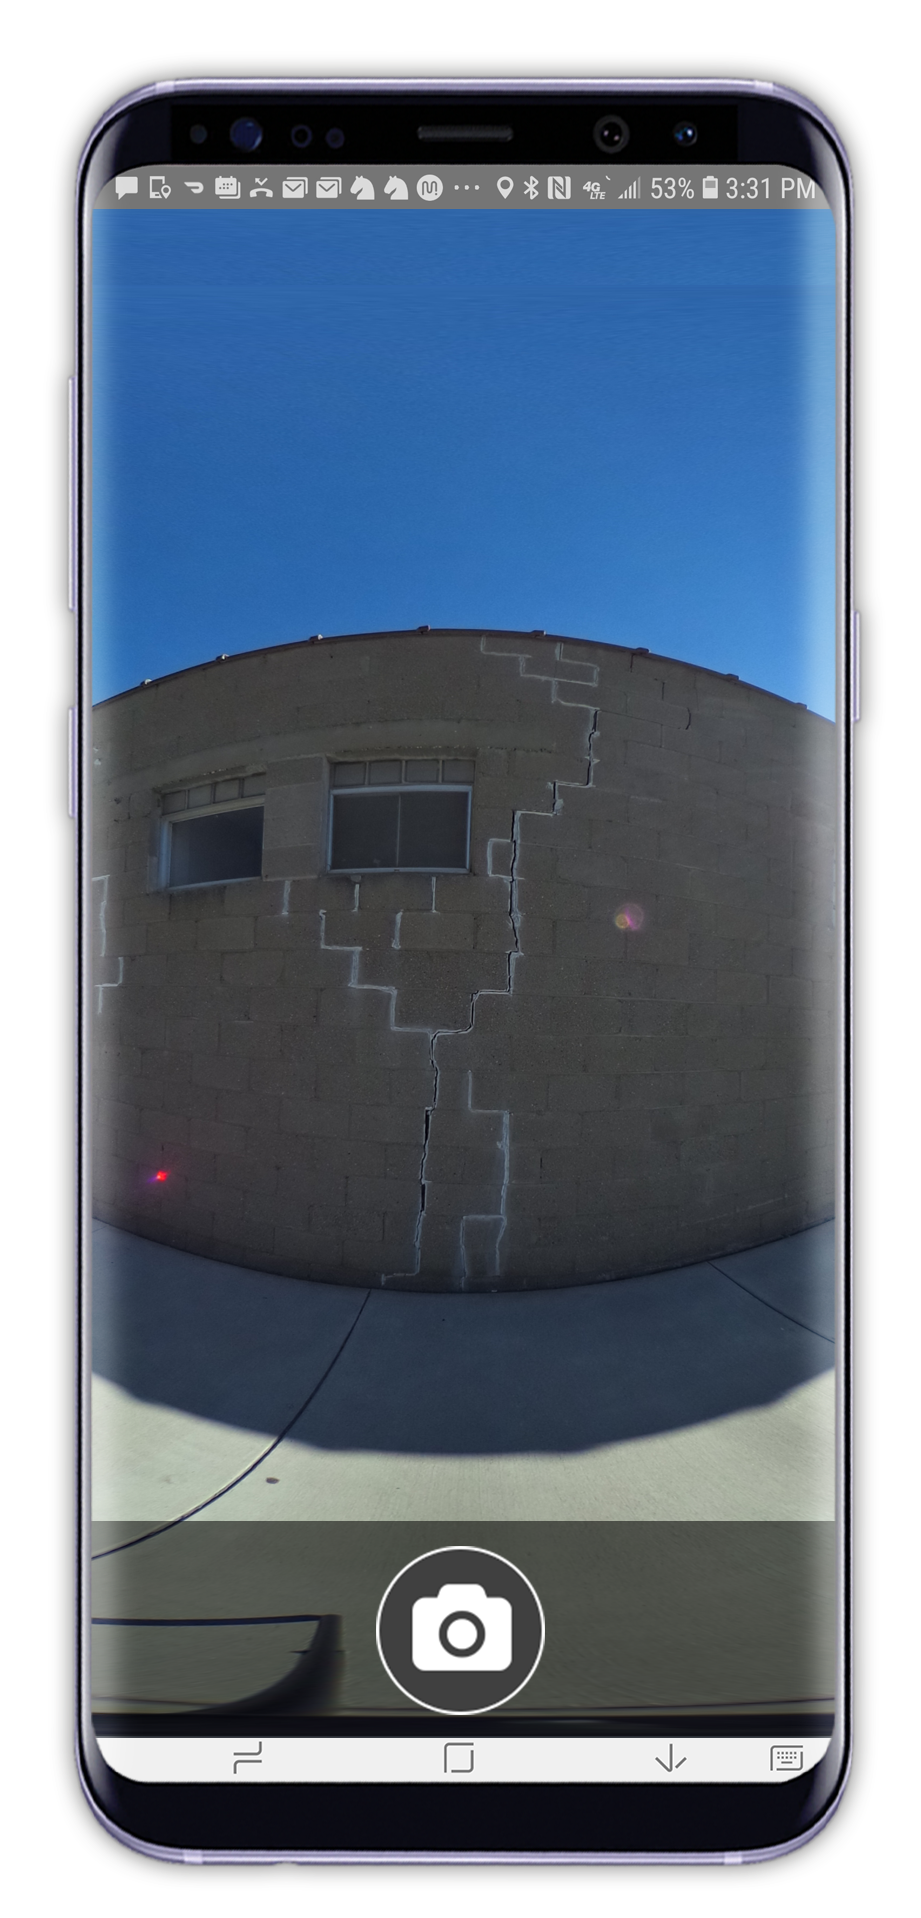
Select Camera Icon to capture photo.
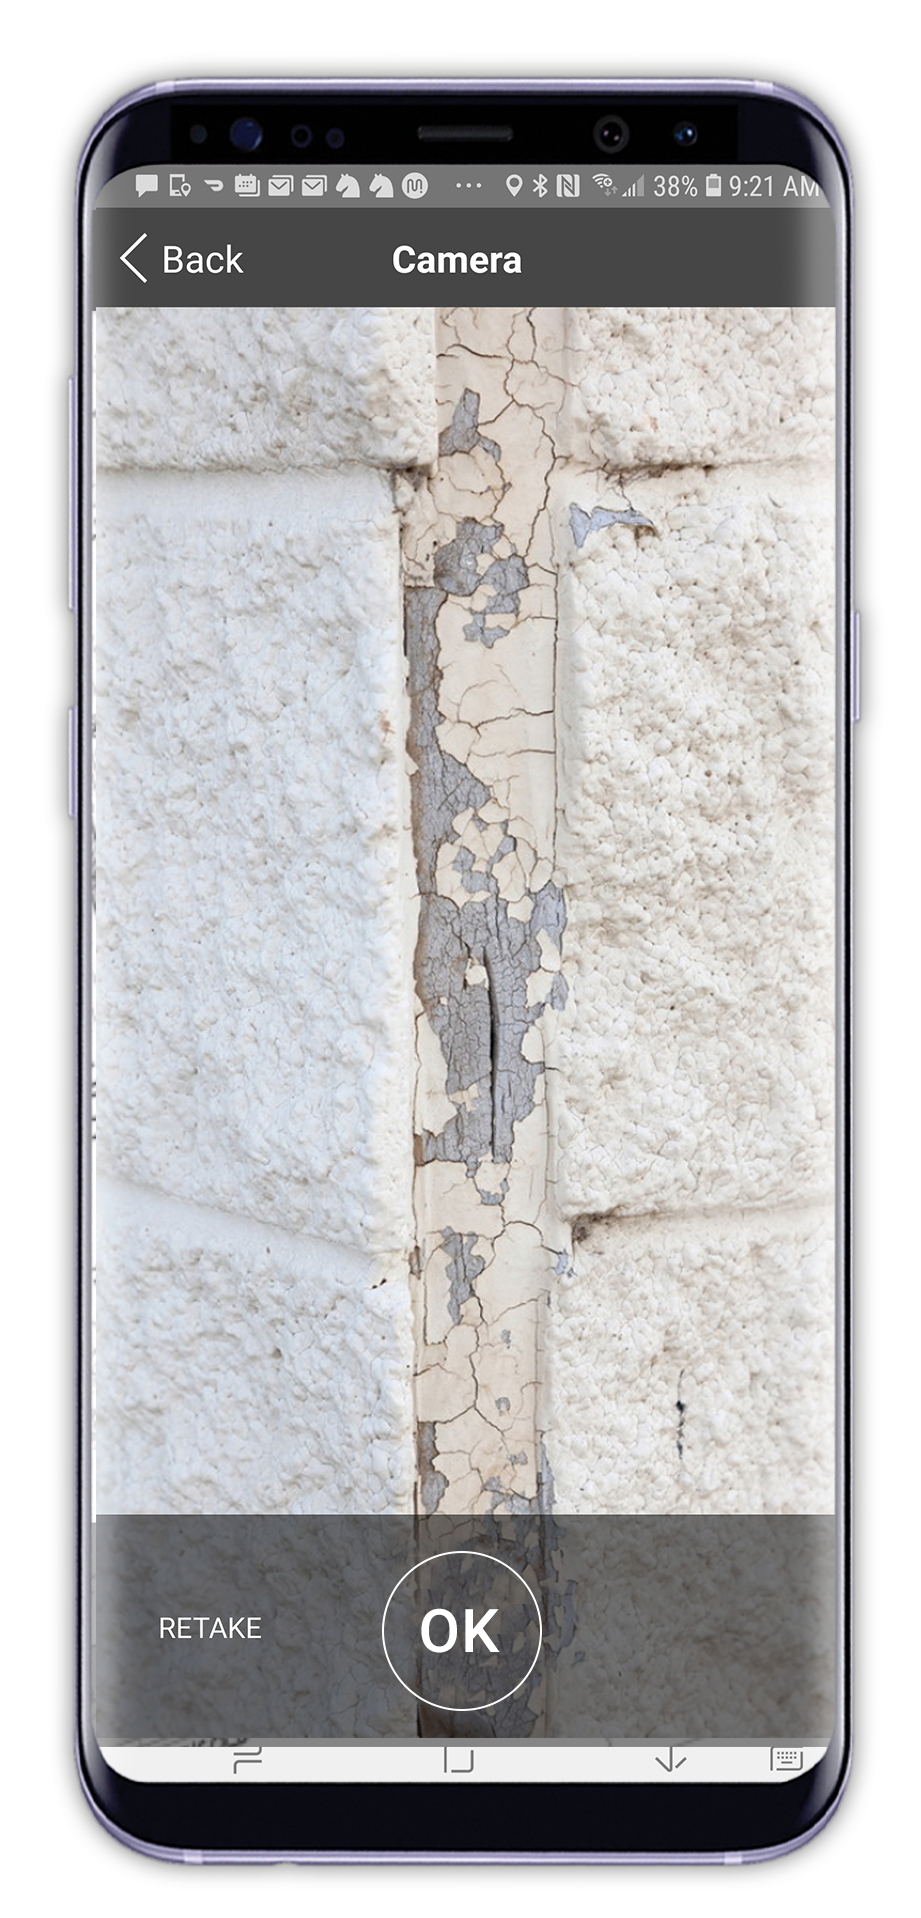
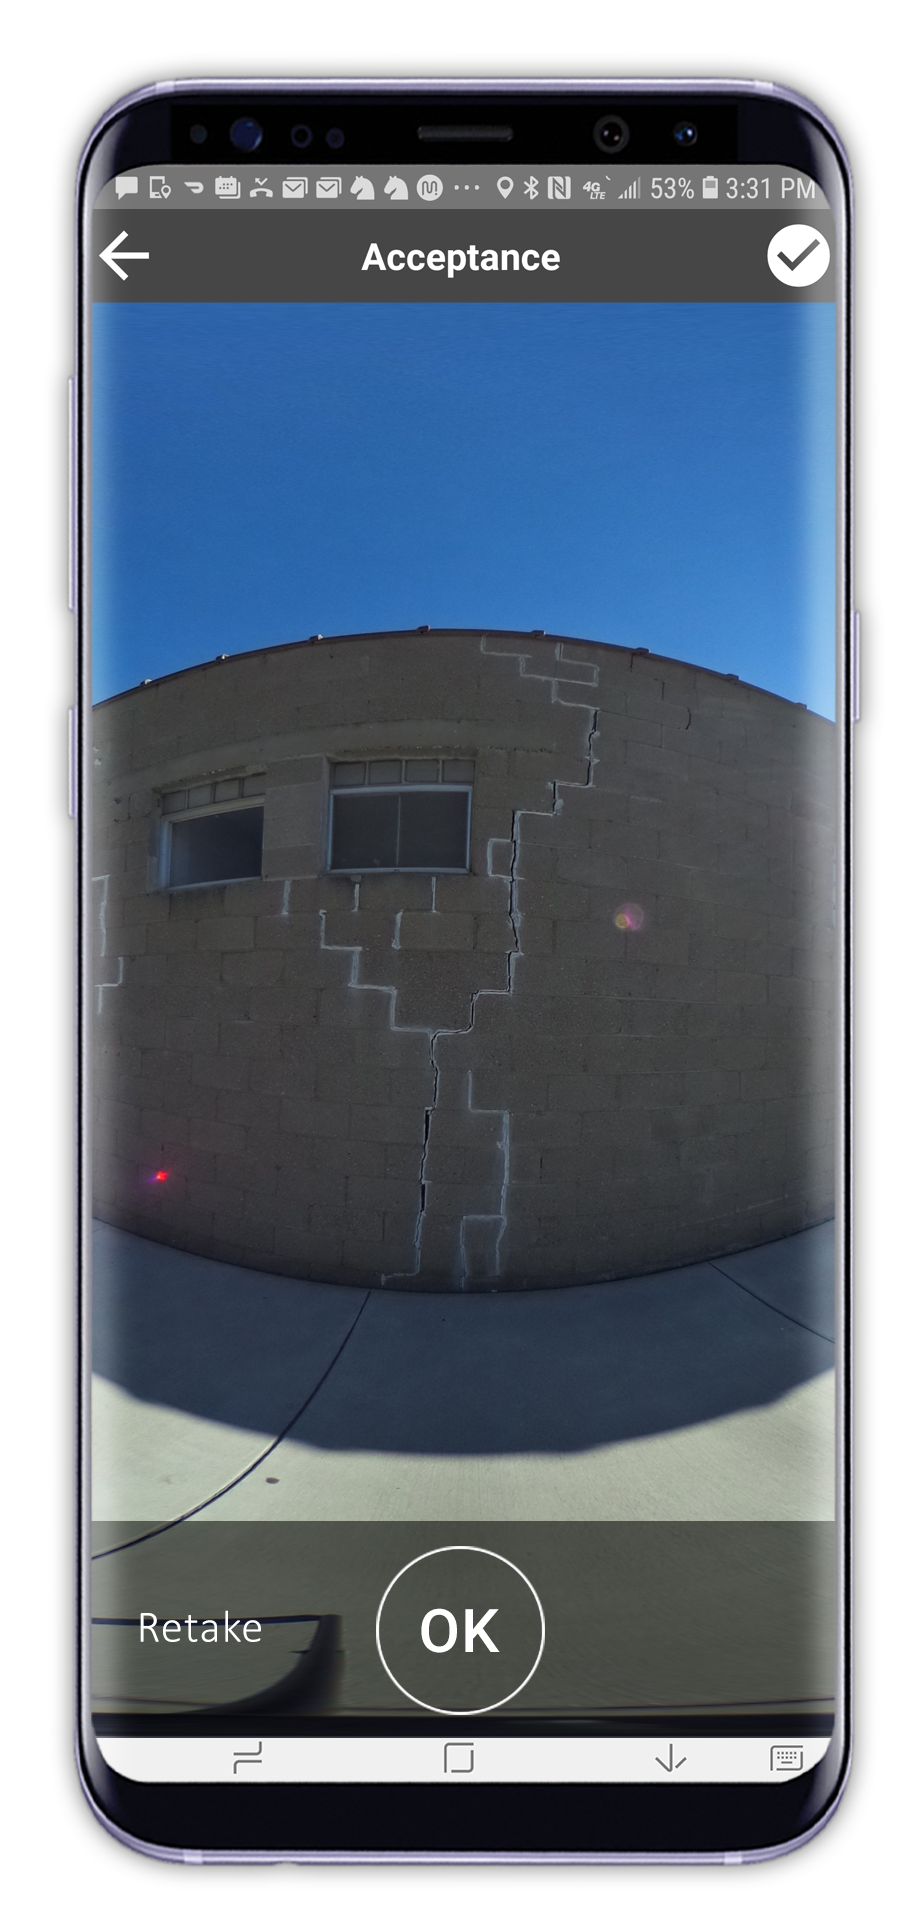
Select Confirm Icon to accept photo. Select "RETAKE" to retake the photo.
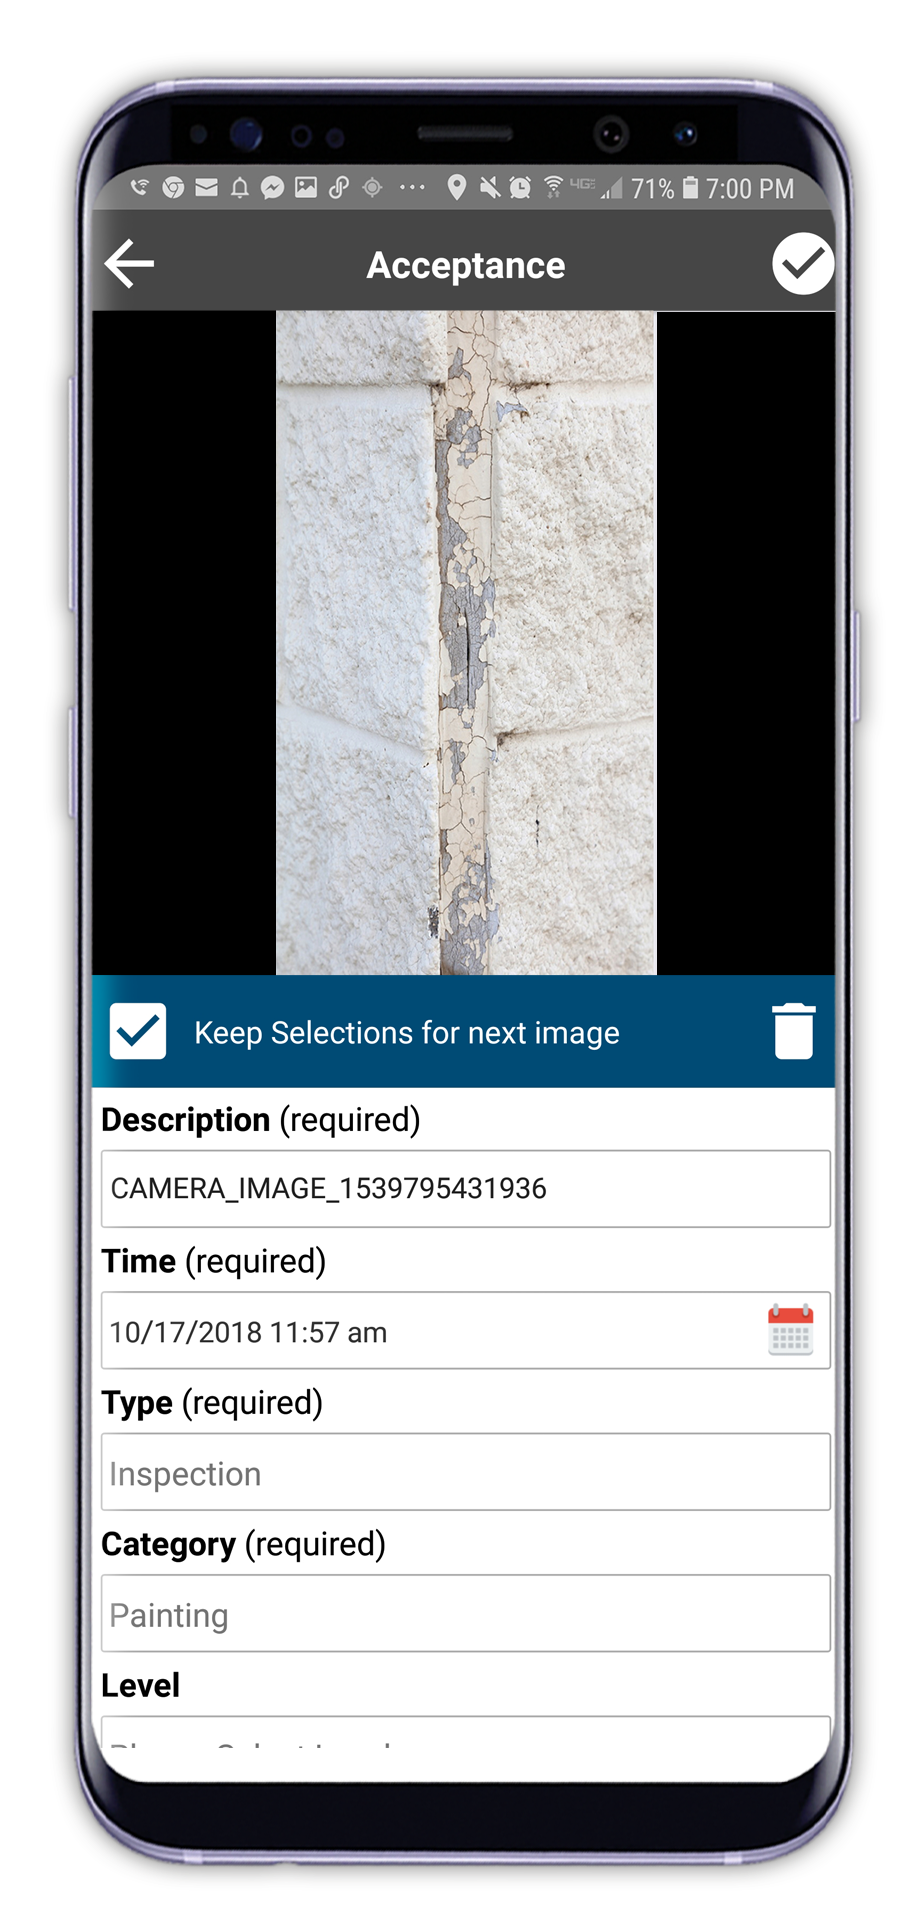
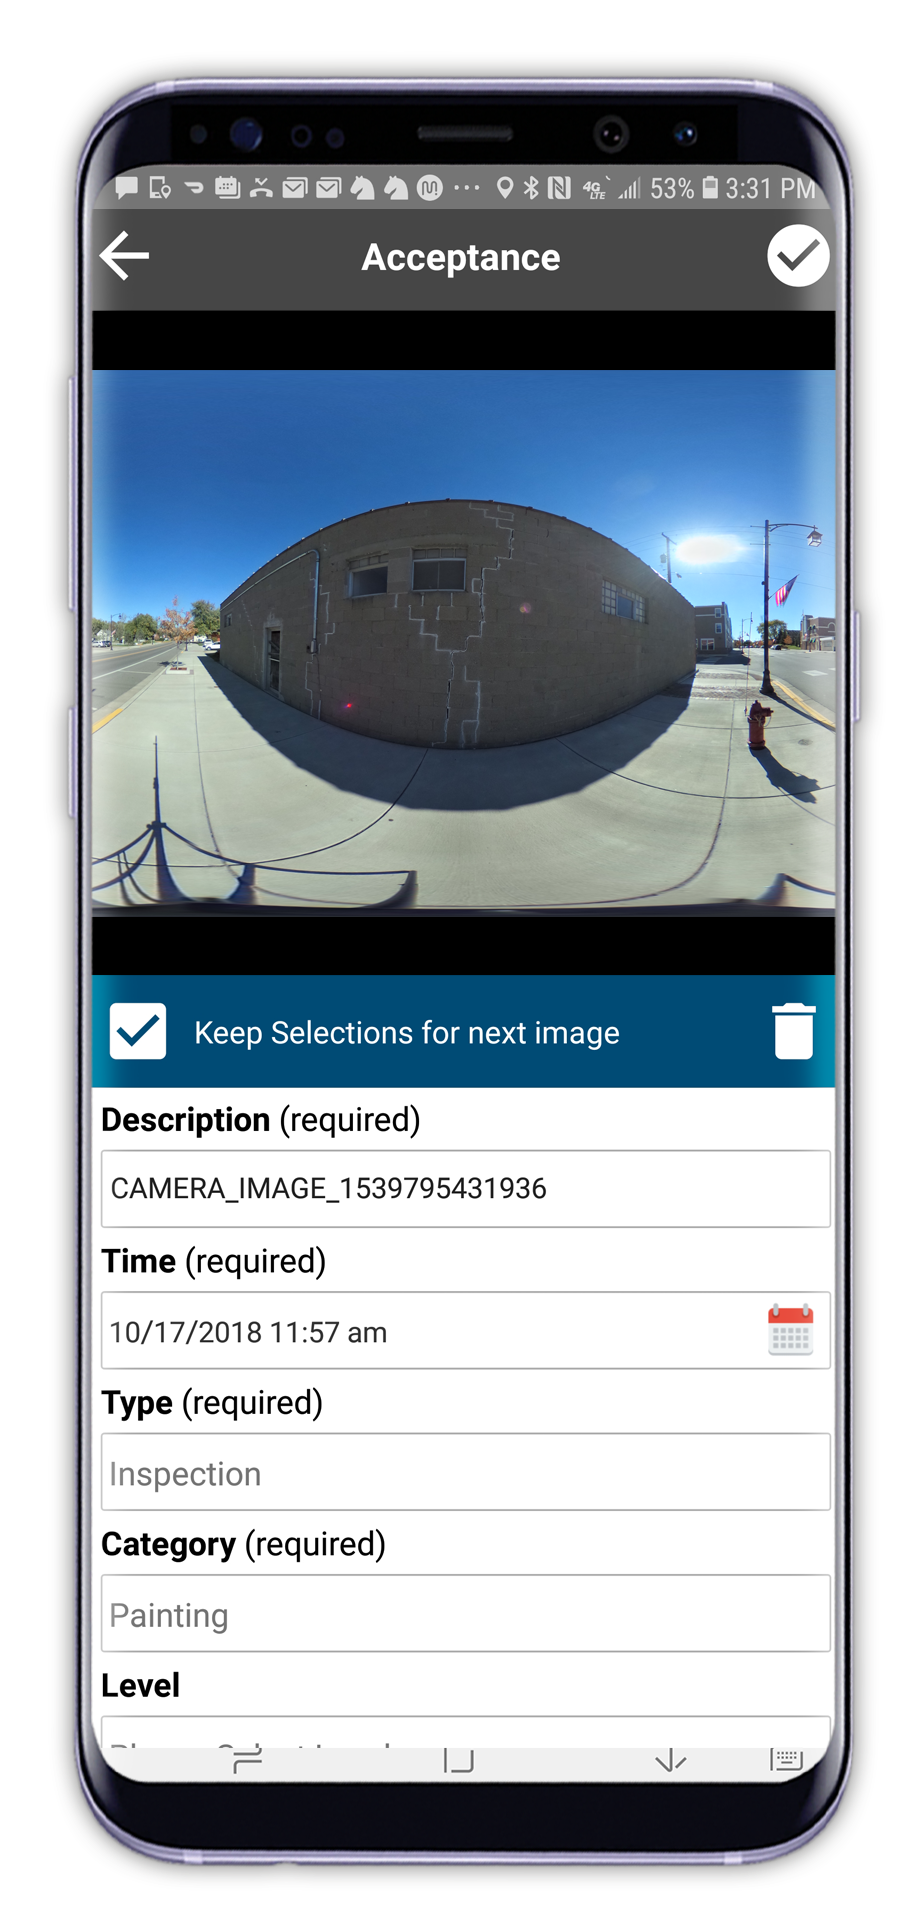
Enter photo metadata (some fields are required). Select Acceptance Icon in top right to complete.
Select Camera Icon to capture photo.
Select Confirm Icon to accept photo. Select "RETAKE" to retake the photo.
Enter photo metadata (some fields are required). Select Acceptance Icon in top right to complete.
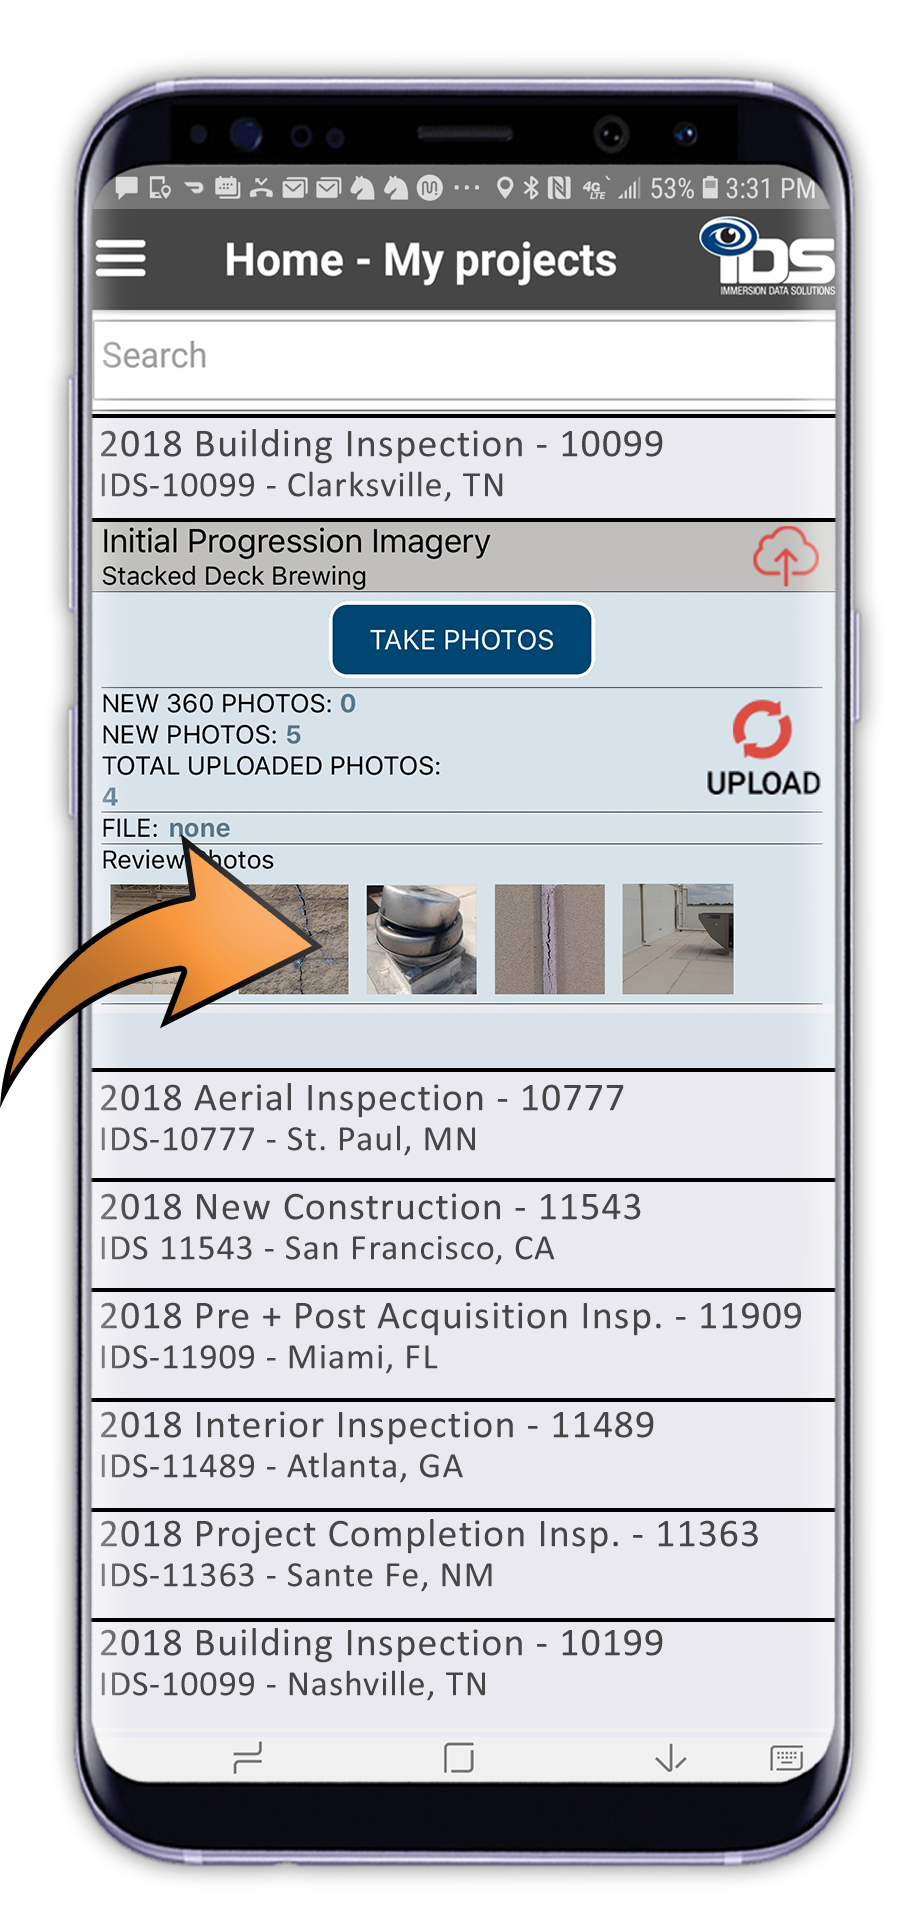
All photos captured and ready to be uploaded will be displayed within the thumbnail tray. You may edit any photos by selecting the thumbnail. You can delete any photos with a long press on the thumbnail.


To upload project photos, select the red upload icon. A visible progress bar will display photos as they upload. The green upload icon shows that your photos have been uploaded.